
 German
 Japanese
 Portuguese
 Korea
Korea
 Mexico
 Dutch
Dutch


Everything You Should Know About Blower Motor Resistor

What is a Blower Motor Resistor?
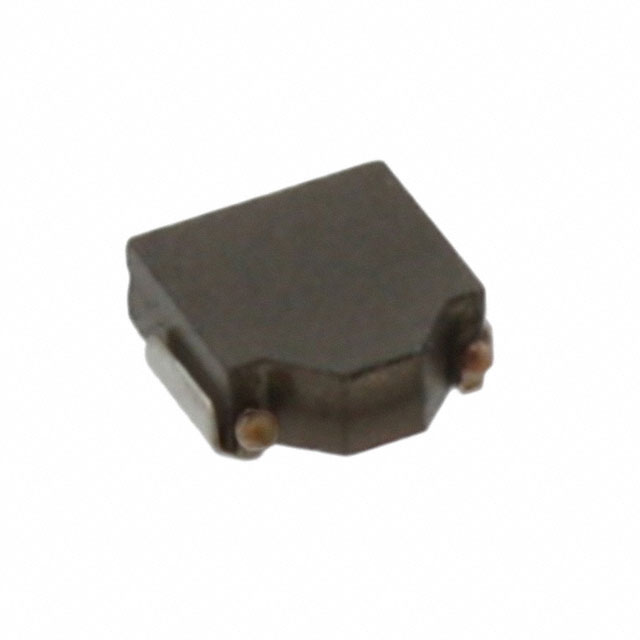
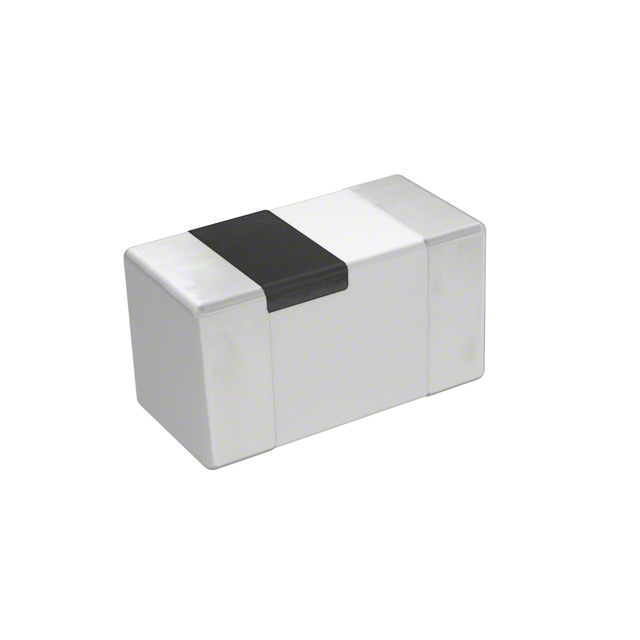
An essential electrical part of an automobile's heating, ventilation, and air conditioning (HVAC) system is the blower motor resistor. Usually, it's a compact, rectangular device with many resistors of varying resistance integrated into it. This component's main job is to control the blower motor's speed, which in turn manages the HVAC system's fan speed.
.jpg?x-oss-process=image/auto-orient,1/quality,q_70/format,webp)
The resistor is typically found in the engine compartment or beneath the dashboard on the passenger side, close to the blower motor itself. It is made to endure the heat produced by the blower motor's airflow as well as electrical resistance. Depending on the make and model, the appearance can change, but most vehicles have a heat sink design to efficiently dissipate heat.
What does a Blower Motor Resistor do?
The blower motor resistor is essential for regulating the HVAC system's fan speed in your car. By changing the amount of electrical current delivered to the blower motor, it does this. This is a more thorough description of its purpose:
.jpg?x-oss-process=image/auto-orient,1/quality,q_70/format,webp)
Speed Control: You may vary the amount of airflow through the vents by adjusting the fan speed from low to high using the resistor. By changing the circuit's electrical resistance, this is accomplished.
Current Regulation: The resistor raises the electrical resistance in the circuit when you choose a lower fan speed, which lowers the current flowing to the blower motor. On the other hand, the resistor lowers resistance when the speed is increased, enabling more current flow.
Energy Management: The resistor aids in energy management by controlling current. Reduced speed utilization results in reduced energy consumption and improved fuel economy.
Motor Protection: By preventing the blower motor from drawing excessive current, which may potentially harm it, the resistor also serves this purpose.
Comfort Customization: The resistor lets users choose how comfortable they want to be—a light breeze or lots of airflow—by turning on different fan speeds.
Blower Motor Resistor Replacement
Replacement of a blower motor resistor becomes necessary when it fails or shows signs of malfunction. Here's a more detailed look at the replacement process:
| Replacement Step | Description |
| Diagnosis | Verify that the resistor is the issue. Test the resistor and rule out other problems like a broken blower motor or switch. |
| Part Selection | Choose the appropriate replacement component for the specific make, model, and year of your car. Using the wrong part can lead to more issues. |
| Safety Measures | Always unplug the battery before starting any work on the car to prevent shocks or short circuits. |
| Location | The resistor is typically found next to the blower motor, often on the passenger side under the dashboard or in some cars, in the engine compartment. Check the car's handbook. |
| Removal | Locate the resistor, unplug the electrical connector, and remove any mounting clips or screws. Carefully remove the old resistor. |
| Installation | Install the new resistor in the same orientation as the old one. Secure it with mounting screws or clips. |
| Reconnection | Reattach the electrical connector to the new resistor. Ensure it clicks into place and is correctly positioned. |
| Testing | After reconnecting the battery, test the fan by running it through all speed settings to ensure it operates properly. |
| Troubleshooting | If issues persist after the resistor replacement, further diagnose potential faults within the HVAC system. |
Blower Motor Resistor Symptoms
It's critical to identify the signs of a malfunctioning blower motor resistor in order to diagnose and fix the problem quickly. This is a longer list of typical symptoms:
| Symptoms | Issue Description |
| Variable Fan Speeds | The fan operates at certain speeds but not at others, with higher speeds functioning better than lower ones. |
| Fan Stuck on One Speed | The fan may only operate at its highest speed, regardless of the selected setting. |
| No Air from Vents | A completely broken resistor may cause no airflow from the vents even when the system is turned on. |
| Burning Odor | A malfunctioning resistor may overheat, emitting a strong burning smell detectable from the dashboard area. |
| Intermittent Operation | The fan may work sporadically, sometimes operating correctly and other times stopping unexpectedly. |
| Electrical Problems | Additional electrical issues may occur when adjusting fan speeds, such as flashing dashboard lights. |
| Climate Control System Malfunction | A faulty resistor can disrupt the entire climate control system in an automated car. |
| Noise | Unusual noises, such as clicking or buzzing, may occur when changing fan speeds due to a malfunctioning resistor. |
| Dashboard Warning Lights | A broken resistor may trigger warning lights on the dashboard in many modern cars. |
| Decreased Fuel Efficiency | A fan stuck at a high speed can put an excessive load on the electrical system, potentially impacting fuel efficiency. |
How Blower Motor Resistor Works
The blower motor resistor connection in a normal automobile is depicted in this diagram. When the fan speed is set to the highest "4" on this car, the blower motor is powered directly by the fan switch, bypassing the resistor. For this reason, if the resistor in your automobile isn't working properly, the blower motor might still operate at "High" speed.

Three series-connected resistors (R2 + R3 + R4) lessen the blower motor current when the fan switch is set to speed "1" in this diagram. The red and blue lines represent the current flow. There are two resistors linked in series in setting "2" and one resistor in setting "3".
The electric circuit's current is decreased by adding resistance. The total resistance grows and equals the sum of the individual resistances when many resistors are connected in series.
How to Test Blower Motor Resistor?
To find out if a blower motor resistor is operating correctly, testing it is a crucial diagnostic step. Here's a more thorough how-to instruction for testing it:
| Step | Description |
| Safety First | Always unplug the vehicle's battery before beginning any electrical inspections to avoid potential shocks or short circuits. |
| Track Down the Resistor | Consult the owner's manual of your car to find the exact location of the blower motor resistor. It's usually in the engine compartment or under the dashboard on the passenger side. |
| Visual Inspection | Check the resistor for physical damage, and signs of burning or melting, and inspect for loose connections or corrosion on the electrical connector. |
| Remove the Resistor | Disconnect the resistor’s electrical connector carefully, noting its orientation for proper reconnection later. |
| Get the Multimeter Ready | Set your multimeter to measure resistance (ohms), typically in the 0–20 ohm range for car resistors. |
| Examine Every Terminal | Use the multimeter probes to touch different combinations of the resistor's terminals, expecting a different resistance reading for each combination. |
| Compare the Readings | Match your multimeter readings with the resistance values specified for each speed setting in the car's service manual. |
| Check for Infinite Resistance | An "OL" (overload) reading between any terminals indicates an open circuit, suggesting a portion of the resistor may have failed. |
| Temperature Consideration | Remember that temperature can slightly affect resistance values. Perform the test at the resistor's typical operating temperature when possible. |
| Connector Test | Test the electrical connector for continuity to ensure that the issue is not with the wiring itself. |
| Voltage Drop Test | Conduct a voltage drop test across the resistor while the blower is running at different speeds, if possible, to gain additional insights into its functionality. |
| Document Outcomes | Keep a record of all measurements for future reference and potential consultation with a technician if issues persist. |
Remember, while this test can indicate a faulty resistor, it's not always definitive. Other components in the HVAC system could also cause similar symptoms. If in doubt, consult with a professional mechanic.
How to Change a Blower Motor Resistor?
Changing a blower motor resistor is a task that many DIY enthusiasts can handle. Here's a more detailed step-by-step guide:
| Change Step | Description |
| Preparation | 1. Confirm you have the correct replacement part for your vehicle. 2. Gather necessary tools (screwdrivers, pliers, socket set). 3. Wear safety glasses to protect your eyes. |
| Safety First | 1. Disconnect the negative terminal of the vehicle's battery. 2. Allow the engine to cool if the vehicle has been used recently. |
| Locate the Resistor | Consult your vehicle’s manual to find the exact location of the blower motor resistor, typically under the dashboard on the passenger side or in the engine compartment. |
| Access the Resistor | Remove panels or components as needed to access the resistor. Take photos or notes to help with reassembly. |
| Disconnect Electrical Connections | Carefully unplug the electrical connector from the resistor, noting the orientation for correct reconnection. |
| Remove the Old Resistor | Remove any mounting screws or clips. Carefully extract the old resistor, noting its orientation. |
| Inspect the Area | Check for any signs of damage, melting, or burning in the surrounding area. Clean the mounting area if necessary. |
| Install the New Resistor | Install the new resistor in the same orientation as the old one and secure it with mounting screws or clips. Make sure it is firmly in place but do not overtighten. |
| Reconnect Electrical Connections | Reattach the electrical connector to the new resistor, ensuring it clicks into place and is fully seated. |
| Reassemble | Replace any panels or components removed during the process. |
| Reconnect the Battery | Reconnect the negative terminal of the vehicle’s battery. |
| Test the System | Turn on the ignition and test the blower at all speed settings to ensure all speeds are working and airflow is proper. |
| Final Checks | Listen for any unusual noises and check for proper operation of the entire HVAC system. |
| Dispose of Old Part | Properly dispose of the old resistor by local regulations for electronic waste. |
How to Replace Blower Motor Resistor?
Replacing a blower motor resistor is basically the same procedure as changing it, as we have already discussed in depth. On the other hand, keep the following things in mind while replacing it:
Diagnostic Verification: Make sure the resistor is the actual issue before replacing it. Resistor difficulties can occasionally be mistaken for problems with the blower motor itself or the control switch.
Part Matching: Verify that the new part precisely fits the specifications of your car. Inadequate fit or functionality might result from even minute variations.
Wiring Inspection: Look for any indications of damage or melting in the wiring harness while changing the resistor. The wiring or connector may occasionally sustain harm from a failed resistor.
Blower Motor Check: If you have access to the area, think about doing a blower motor inspection. Premature resistor failure can result from a failed blower motor.
Thermal Paste: To enhance heat dissipation, some resistors employ thermal paste. If your new resistor comes with it, install it as directed by the manual.
Time of Break-In: It's a good idea to run the blower for a short while at different speeds after replacement to make sure everything is working properly.
Documentation: In case there are any problems later on, save your receipt and any warranty information for the replacement part.
Think About Upgrading: Occasionally improved resistors or electronic modules are available that might provide better performance or longevity.
How to Check Blower Motor Resistor?
In order to check a blower motor resistor, one must perform visual inspection, electrical testing, and system assessment. Here's a thorough guide:
Visual Inspection:
Check the resistor for any indications of melting, burning, or physical damage.
Inspect the connector for heat damage, loose pins, and corrosion.
Look for any indications of electrical problems or heat damage in the vicinity.
Electrical Testing:
As mentioned in the "How to Test" section, measure the resistance between terminals using a multimeter.
At various fan speeds, conduct a voltage drop test across the resistor.
Verify that the wiring harness attached to the resistor is still connected.
System evaluation:
Check the blower's performance at all speed settings and record any irregularities.
When varying speeds, pay attention to any strange sounds.
Check each speed setting's airflow with your fingers.
Control Switch Check:
Ensure the blower control switch is functioning correctly.
The test voltage output from the switch at different settings.
Blower Motor Inspection:
Check the blower motor itself for proper operation.
Listen for any unusual noises from the motor.
Fuse Check:
Inspect and test the fuses related to the HVAC system.
Computer Diagnostics:
For vehicles with advanced climate control systems, use a diagnostic scanner to check for any stored error codes.
Current Draw Test:
Measure the current draw of the blower motor at different speeds to ensure it's within specifications.
Vibration Check:
Feel for any unusual vibrations when the blower is running, which could indicate motor or resistor issues.
Remember, a thorough check of the blower motor resistor often involves evaluating the entire HVAC system, as issues in other components can sometimes mimic resistor problems.
How to Fix Blower Motor Resistor?
Fixing a blower motor resistor typically involves replacement, as internal damage is usually not repairable. However, here are some steps you can take to address issues related to the blower motor resistor:
| Fix Step | Action |
| Cleaning | Clean the electrical connections with an electrical contact cleaner. |
| Remove any debris or dust from the resistor and surrounding area. | |
| Connection Repair | If the connector is damaged, repair or replace it. |
| Ensure all connections are tight and secure. | |
| Wiring Repair | Check for any damaged or frayed wires and repair them as necessary. |
| Use proper automotive-grade wire and connectors for any repairs. | |
| Heat Sink Improvement | If overheating is an issue, consider improving heat dissipation by adding thermal paste or ensuring proper airflow around the resistor. |
| Upgrade | Consider upgrading to a more robust resistor or an electronic control module to solve persistent issues. |
| System Check | Address any issues with the blower motor or control switch that might be causing the resistor to fail prematurely. |
| Fuse Replacement | Replace a blown fuse with one of the correct amperages. |
| Voltage Regulator | Install a voltage regulator to help protect the resistor from voltage spikes. |
| Professional Repair | Seek professional help for complex issues or if unsure about a solution. They can diagnose and fix underlying problems causing resistor failure. |
| Complete Replacement | Replace the entire resistor unit with a new one if all else fails. |
How to Reset Blower Motor Resistor?
It's crucial to remember that, unlike some electrical devices, blower motor resistors usually lack a dedicated "reset" feature. Still, there are a few actions you may do that will essentially reset the blower motor system as a whole. Here is a thorough how-to:
Method for Disconnecting Batteries:
- Make sure the key is out of the ignition and the car is off.
- Find the battery located in the car. Usually found under the engine compartment, it can also be found under a seat or in the trunk of some cars.
- With the use of a wrench, disconnect the battery's negative (black) terminal.
- Give it a good fifteen to twenty minutes. By doing this, any transient electrical problems can be resolved by allowing the car's electrical system to completely drain.
- Reconnect the battery terminal, ensuring it's tight and secure.
Method for Removing a Fuse:
- Find the fuse box. Usually, it is located in the engine compartment or beneath the dashboard.
- Locate the blower motor or HVAC system fuse. If you are not sure which fuse it is, refer to the owner's manual for your car.
- After taking out the fuse for roughly five minutes, put it back in.
- By doing this, the electrical circuit governing the resistor and blower motor can be reset.
Resetting the Control Module:
- The HVAC system in certain contemporary cars is managed by an electronic module.
- This module can frequently be reset by disconnecting the battery (as in procedure 1).
- You might occasionally need to press and hold the HVAC control buttons in a particular order. If your car needs a specific reset process, see the manual.
Inspection of the Blower Motor Resistor:
- Find the resistance for the blower motor. On the passenger side, it's typically under the dashboard or behind the glove box.
- Take off the resistor's electrical connector.
- Make sure that the resistor and the connector are free of corrosion and damage.
- If necessary, use an electrical contact cleaner to clean the connections.
- Make sure the connection is secure before reconnecting the resistor.
System Adjustment:
- Turn on the ignition after reconnecting everything, but do not start the engine.
- After adjusting the fan to its maximum speed, let it run for roughly thirty seconds.
- Next, go through all of the fan speeds, giving each a 10-second run.
- This procedure might aid in system recalibration and guarantee that all speed settings are operational.
Resetting the Computer:
- Reconnect the battery, then start the engine and let it run for approximately five minutes at idle.
- Don't touch any of the climate controls during this period.
- In doing so, the computer in the car can retrain itself and adjust the HVAC system.
Professional Diagnostic Reset:
- Bring your car to a dealership or an authorized repair.
- The HVAC system can be reset and calibrated with the help of specialized diagnostic equipment.
- This could entail doing a system-wide reset and removing any error codes.

Related Articles
- ·Next-Generation Memory Technologies: MRAM, RRAM, and PCM
- ·DDR4 vs DDR5 for Industrial Embedded Systems
- ·How to Choose Industrial DDR4 Memory for Medical Devices
- ·Memory Chip Price Increase: 2026 Market Trends, Samsung Pricing, Key Drivers and FAQ
- ·Memory Chip Manufacturers: Who Makes Memory Chips and Where
- ·Memory Chips: Materials, Applications, Types, and On-Chip Memory Explained
- ·Memory Chip Complete Guide: Definition, Manufacturers, Shortage, Manufacturing Process and Working Principles
- ·Fiber Optic Switch Guide: Definition, Connection Methods, Cabling, Disconnection and FAQ
- ·Optical Fiber Transmitter and Receiver Guide
- ·ICD Driver, LCD Driver & LCD Panel Driver Board Guide
 FAQ
FAQ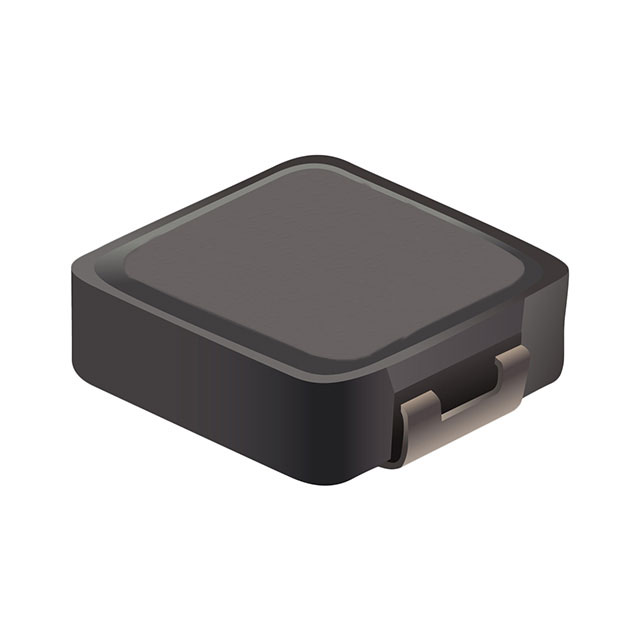


.png?x-oss-process=image/format,webp/resize,h_32)


