
 German
 Japanese
 Portuguese
 Korea
Korea
 Mexico
 Dutch
Dutch


Time Delay Relay: The Tiny “Pause Button” That Saves Motors, Lights, and Your Sanity

Part 1 — Why the Time Delay Relay Is the Best Supporting Actor in Your Control Panel
Some components insist on being the star. The time delay relay? It’s the calm, unflappable character who walks into chaos, presses “wait 3 seconds,” and prevents a disaster.
Think of a time delay relay like the perfect cliffhanger—except you decide when the next episode starts.
And yes, timing is having a moment culturally too: on January 11, 2026, one global streaming top-10 list had Stranger Things and Emily in Paris showing up together like an unlikely crossover event.
Meanwhile, 2026’s film chatter is packed with “what happens next?” energy—Rotten Tomatoes’ anticipated-movies list is basically a countdown clock in article form.
Even the box office is living on delays and suspense—AP reported Avatar: Fire and Ash holding the top spot for multiple weeks.
Now bring that vibe back to the real world: motors that should not restart instantly, heaters that must not slam on/off, compressors that need anti-short-cycle protection, lights that should stay on just a bit longer.
That’s the job of a time delay relay.
If you build panels, maintain machines, retrofit legacy lines, or design anything that moves/warms/pressurizes/rotates, you’ll end up using a time delay relay—or wishing you had.
Part 2 — What Is a Time Delay Relay (and What It’s Not)
A time delay relay is a relay that changes its output contacts after a preset time. Instead of switching immediately when energized or triggered, it waits—then switches.
The key idea
- A normal relay is like: Trigger → click.
- A time delay relay is like: Trigger → “hold on…” → click.
What a time delay relay is used for
A time delay relay is used when you need:
- Start delay (let voltage stabilize, let airflow build, let contactors settle)
- Stop delay (run fans after heaters, drain systems, keep lights on briefly)
- Timed pulse (activate a solenoid for exactly 2 seconds)
- Cycle timing (on/off repeating patterns)
- Sequencing (do A, then B, then C with delays)
What a time delay relay is NOT
- It’s not a PLC (no logic ladder, no fancy I/O expansion).
- It’s not a contactor (usually not meant to directly switch big motor currents).
- It’s not a “magic fix” for poor wiring (noise and wrong bases will still ruin your day).
But as an electronic component in control circuits, the time delay relay sits in the sweet spot: cheap, rugged, fast to retrofit, easy to understand at 2 a.m.
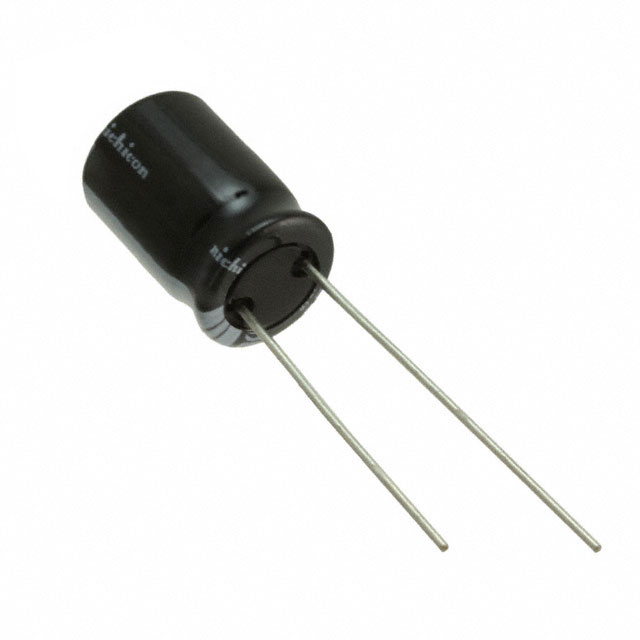
.png?x-oss-process=image/auto-orient,1/quality,q_70/format,webp)
Part 3 — The Modes: On-Delay, Off-Delay, Interval, Cycle (a.k.a. the “Plot Genres” of Time)
Most confusion around a time delay relay isn’t wiring—it’s mode selection. Timer relays often have multiple modes, and selecting the wrong one is like watching a mystery film with the last 20 minutes missing.
Here are the main “genres”:
1) On-Delay (Delay on Make)
- Trigger happens
- Output waits
- Output then turns ON
Use it when: you want something to start after a delay (motor start sequencing, soft starts, staggered loads).
2) Off-Delay (Delay on Break)
- Output turns ON immediately with trigger
- When trigger is removed, output waits
- Output then turns OFF
Use it when: you want something to keep running after the signal ends (bathroom fans, purge blowers, conveyor run-out).
3) Interval / One-Shot (Pulse on Trigger)
- On trigger, output turns ON for the set time
- Then returns OFF
Use it when: you want a fixed-length activation (valves, lubrication pumps, timed alarms).
4) Repeat Cycle / Flasher (On/Off Cycling)
- Output cycles ON and OFF
- Usually with separate T1/T2 or a single time base
Use it when: you want periodic action (beacons, intermittent pumps, test rigs).
5) Star-Delta Timing (Special Case)
A time delay relay can provide the changeover delay between star and delta contactors—classic motor starting.
Use it when: you’re doing motor starting with star-delta starters (and you want fewer unpleasant noises).
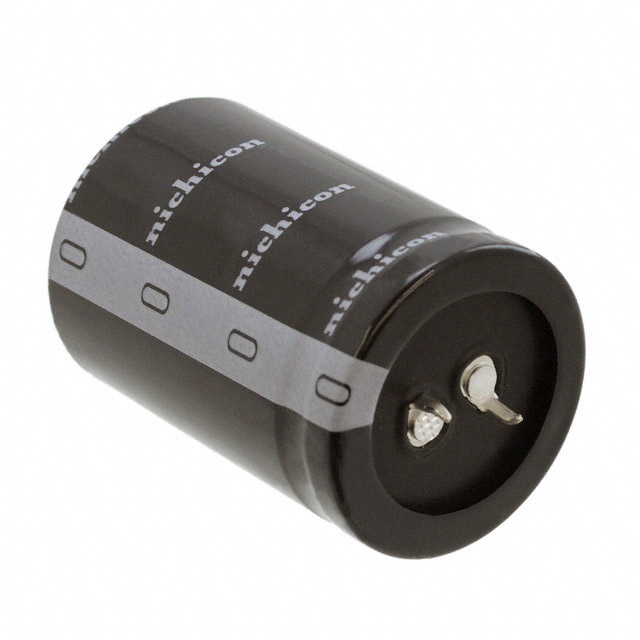
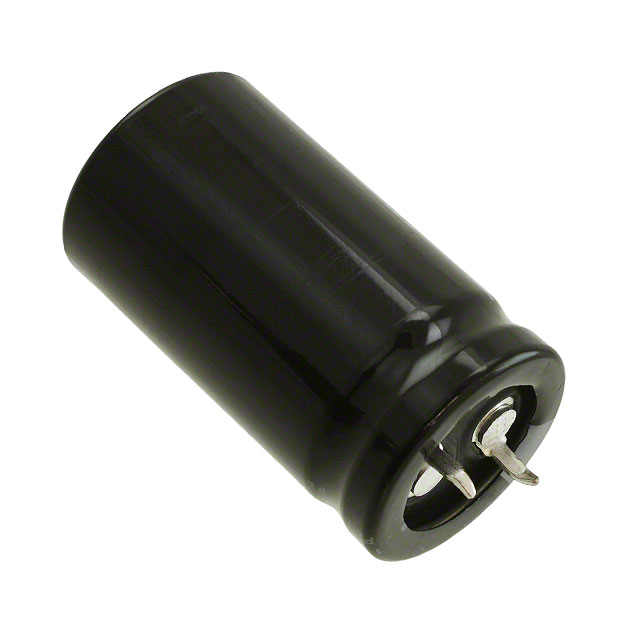
Part 4 — Inside a Time Delay Relay: What’s Actually Happening Electrically
A time delay relay can be built in different ways, but modern timer relays typically fall into two big categories:
A) Analog / RC-based timing (older or simpler designs)
- RC network charges
- Threshold triggers a comparator/transistor
- Output coil or SSR stage switches
Pros: simple, often cheap
Cons: timing drift with temperature, aging, supply variation
B) Digital timing (common in 48×48 panel timers and many DIN-rail units)
- Microcontroller or digital counter
- Mode selection switches
- LED/7-segment display on some models
- Relay output contacts
Pros: wider time ranges, better repeatability, multi-mode
Cons: more sensitive to electrical noise if installed poorly
Common internal component “cast list”
A typical time delay relay design includes:
- A low-power supply stage (often capacitive dropper or small SMPS in AC models)
- Timing element (RC or MCU timer)
- Output driver (transistor) controlling the relay coil
- Output relay contacts (SPDT/DPDT)
- Protection bits (snubber networks, MOV, TVS, RC filters depending on design)
If you ever wondered why a time delay relay sometimes misbehaves near VFDs or noisy contactors: it’s because timing circuits and EMI are frenemies. You can still win—just need the right layout and suppression (we’ll get there).
.png?x-oss-process=image/auto-orient,1/quality,q_70/format,webp)
Part 5 — Specs That Matter (and the Ones That Are Just “Marketing Dialogue”)
When selecting a time delay relay, focus on what determines reliability and correct timing:
1) Supply voltage (the “don’t mess this up” spec)
Common: 12VDC, 24VDC, 110VAC, 220–240VAC, and “wide range” variants.
2) Time range and resolution
Some models do minutes only; others go from fractions of seconds to hundreds of hours.
Examples of commonly sold time delay relay model ranges:
- H3Y-2 listings often show options like 0–10 minutes (depending on variant).
- H3CR-A8 listings often show a very wide range like 1.2 seconds to 300 hours (depending on configuration).
- DH48S-S listings commonly show 0.1s–99h timing range (variant dependent).
3) Output contact type (SPDT/DPDT) and current rating
Many timer relays are rated around 5A in common listings (again, check variant and load type).
But: contact rating depends massively on load category (resistive vs inductive vs inrush).
4) Mounting + footprint
Common formats:
- 48×48mm panel mount with 8-pin base
- 8-pin octal plug-in
- 11-pin plug-in
- Slim DIN rail modules (17.5mm-ish wide)
5) Standards / compliance (for industrial panels)
Many industrial control relay catalogs reference IEC 60947-5-1.
If your project touches industrial machinery or you sell into regulated environments, that standards line matters (even if nobody talks about it at parties).
Part 6 — Popular Time Delay Relay Models (No Brand Names, Just What People Actually Use)
You asked for popular models without naming manufacturers. Here are model numbers that show up constantly in real panels, maintenance carts, and “why is the machine doing that?” moments:
A) 48×48 digital/panel timer relay style (often 8-pin)
- JSS48A (commonly referenced as a time delay relay used for connecting/disconnecting circuits at preset times; often listed with multiple mounting types and IEC standard references).
- DH48S-S (commonly sold as a digital time delay relay with wide timing ranges; often used for cycle delay).
Why people like them: easy panel integration, readable settings, wide time ranges.
B) Octal 8-pin “classic timer relay” style
- H3Y-2 (very common in catalogs and marketplaces; often sold in multiple voltages).
- H3CR-A8 (popular multi-range, multi-mode style listing in marketplaces).
Why people like them: easy replacement, sockets are everywhere, great for retrofits.
C) What to watch with “popular models”
Because many popular time delay relay model numbers exist in multiple variants:
- Confirm coil/supply voltage
- Confirm time range module (some use different dial scales)
- Confirm contact arrangement
- Confirm base/pin compatibility (8-pin vs 11-pin look-alikes are a classic trap)
Pro tip: photograph the old timer relay and its socket wiring before swapping. Future-you will treat past-you like a genius.
.png?x-oss-process=image/auto-orient,1/quality,q_70/format,webp)
Part 7 — How to Wire a Time Delay Relay (Without Summoning the Smoke Monster)
Wiring a time delay relay varies by form factor, but the logic is consistent:
1) Power the timer (A1/A2 or equivalent)
2) Use its output contacts (COM/NO/NC) to control a coil or signal line
Example 1: On-delay to start a fan 5 seconds after a heater signal
Goal: Heater turns ON → fan waits 5 seconds → fan contactor coil energizes
Typical approach:
- Heater control signal energizes time delay relay coil (or provides trigger input)
- Timer output NO contact energizes fan contactor coil
Text diagram (conceptual):
- Control supply L/+ → Heater signal → Timer supply input
- Timer output COM → supply
- Timer output NO → fan contactor coil → N/−
Design note: If the fan contactor coil is DC, add a flyback diode. If AC, consider an RC snubber on the coil to reduce contact arcing and EMI.
Example 2: Off-delay for bathroom fan run-on
Goal: Light switch OFF → fan continues 2 minutes → fan OFF
- Light switch powers timer coil
- Timer set to off-delay
- Output drives fan relay/contactor coil
This is one of the most common “comfort automation” uses of a time delay relay.
Example 3: Anti-short-cycle delay for compressor/pump
Goal: When thermostat/pump signal returns quickly, prevent immediate restart for 3–5 minutes.
Set the time delay relay to on-delay (or a restart inhibit mode, if available):
- Input trigger may be demand signal
- Output only enables compressor contactor after delay has elapsed
This reduces mechanical stress and protects power electronics from repeated inrush.
Part 8 — Choosing the Right Time Delay Relay (Like Casting the Perfect Character)
Here’s a selection checklist that works in the real world.
Step 1: Define the timing story
- Do you need on-delay or off-delay?
- Do you need a one-shot interval?
- Do you need repeat cycling?
Write it as one sentence:
“When X happens, I want Y to happen after T.”
If you can’t write that sentence, you’re not ready to buy a time delay relay.
Step 2: Identify what you’re switching
A time delay relay’s contacts should usually switch:
- Another relay coil
- A contactor coil
- A PLC input
- A low-power control signal
If you’re switching a motor or heater directly, you’ll often want:
- The time delay relay to control a contactor, not the load
Step 3: Watch the “silent killers”
- Inrush current (solenoids, motors, lamps)
- Inductive kickback (coils)
- Noise from VFDs (timers can false-trigger)
- Temperature (timing drift and contact life)
Step 4: Pick the format that fits your panel reality
- Need fast retrofit? 8-pin plug-in time delay relay
- Need operator readability? 48×48 display timer relay
- Need density? DIN rail timer relay
.png?x-oss-process=image/auto-orient,1/quality,q_70/format,webp)
Part 9 — Time Delay Relay + Other Electronic Components That Make It Behave
A time delay relay is great—until it’s installed in a noisy panel and starts acting like it’s auditioning for a horror movie.
Here’s the supporting electronics you should know:
1) Flyback diode (DC coils)
Put it across DC relay/contactor coils to clamp voltage spikes.
2) RC snubber (AC coils, inductive loads)
Reduces arcing and EMI.
3) MOV / surge suppressor
Helps with line spikes, especially in industrial environments.
4) Separate control and power routing
Keep timer relay wiring away from:
- motor leads
- VFD outputs
- high dI/dt switching loops
5) Use a proper socket/base
Loose sockets cause intermittent timing and “ghost failures.”
A time delay relay is simple, but it still lives in the real world—where inductance, noise, and vibration never take a day off.
Part 10 — Troubleshooting a Time Delay Relay (When the Plot Twist Is Your Cabinet Door)
Symptom: Time delay relay never activates
Common causes:
- Wrong supply voltage to timer
- Wrong wiring to coil/trigger
- Bad socket contact
- Internal failure
Fix:
- Verify supply at timer input with a meter
- Reseat timer relay, inspect base
- Confirm mode setting and range dial
Symptom: Time delay relay timing is “random”
Common causes:
- EMI/noise coupling
- Unstable supply
- Loose neutral/common reference
- Switching inductive loads without suppression
Fix:
- Add snubber/diode/MOV where appropriate
- Route control wiring away from noisy conductors
- Use shielded cable for long runs (where practical)
Symptom: Contacts weld or burn
Common causes:
- Switching too much current directly
- Inductive loads without protection
- Wrong load category assumption
Fix:
- Use the time delay relay to drive a contactor
- Add suppression
- Confirm proper contact ratings for your load type
A time delay relay rarely fails “mysteriously.” It fails because it was asked to do a contactor’s job, or it was dropped into an EMI swamp without protection.
.png?x-oss-process=image/auto-orient,1/quality,q_70/format,webp)
Part 11 — Real Applications Where a Time Delay Relay Shines
Here are high-ROI places to use a time delay relay:
- HVAC fan purge delay (off-delay)
- Compressor anti-short-cycle (on-delay/restart inhibit)
- Conveyor sequencing (staggered on-delay starts)
- Star-delta motor starting (timed changeover)
- Lubrication pump pulse (interval timer relay)
- Lighting stairwell run-on (off-delay)
- Alarm beacons (cycle timer relay)
- Generator warm-up/cool-down (on/off delays)
And this is where the pop-culture analogy actually helps: a time delay relay is like pacing in storytelling—turn everything on instantly and you get chaos; sequence it and suddenly the system feels “professional.”
Part 12 — FAQ About Time Delay Relay Selection and Use
What is the difference between a time delay relay and a normal relay?
A normal relay switches immediately; a time delay relay switches after a preset delay (or holds output for a set duration) depending on mode.
Which is better: analog or digital time delay relay?
Digital time delay relay models typically offer wider ranges and clearer repeatability; analog may be simpler but can drift more with temperature and aging. Choose based on required accuracy, environment, and ease of setting.
Can a time delay relay directly drive a motor?
Usually, a time delay relay should drive a contactor coil, not the motor load directly—especially for inductive loads and inrush currents.
Why does my time delay relay false trigger near a VFD?
Noise and fast switching edges can couple into control wiring. Improve routing, add suppression, and ensure stable control power references.
What are common popular time delay relay model numbers?
Commonly encountered model numbers include H3Y-2, H3CR-A8, JSS48A, and DH48S-S, each appearing in many voltage/time-range variants.
Final Takeaway: The Time Delay Relay Is a Small Part With Big “System Behavior” Power
If you remember only one thing: a time delay relay isn’t just about delaying time—it’s about controlling system behavior.
It prevents inrush pile-ups, reduces mechanical stress, improves user experience, and makes automation feel intentional.
So the next time a motor restart needs a breather, a fan needs to run on, or a sequence needs pacing—don’t reach for a complicated redesign first. Reach for a time delay relay, set the timing like you’re directing the scene, and let the system run smoother.
Notes on sources used for specific factual details
- Example model specs and typical ranges were referenced from public listings and product pages (e.g., H3Y-2, H3CR-A8, JSS48A, DH48S-S) and an industrial standard reference (IEC 60947-5-1) mentioned in product documentation.
- Current-date pop culture “timing” references were supported via a streaming top-10 snapshot and 2026 anticipation lists/news.

 FAQ
FAQ


.png?x-oss-process=image/format,webp/resize,h_32)


