
 German
 Japanese
 Portuguese
 Korea
Korea
 Mexico
 Dutch
Dutch


Endoscopic Imaging Electronics: Tiny Optics, Big Picture

If the MCU (yes, the Marvel kind) cast a scrappy engineer as a superhero, it would be Endoscopic Imaging. It sneaks where blockbusters can’t, sees under terrible lighting, and delivers the shot—no reshoots, no drama. Inside that pencil-thin wand: optics that behave like sorcery, sensors that love low light, illumination that could pass for stage design, and electronics that keep the whole set from melting when the sterilizer yells “action.”
Table of Contents
.png?x-oss-process=image/auto-orient,1/quality,q_70/format,webp)
1) Cold Open: What Endoscopic Imaging Actually Is
Endoscopic Imaging is how clinicians see inside hollow organs and cavities with a device the width of a pen cap. Whether rigid scopes in ORs, flexible scopes for GI, or disposable camera-on-chip modules for single use, the electronics must deliver low-latency, accurate color, and enough dynamic range to handle pink tissue, specular highlights, and shadowy folds—often in the same frame.
Think of it like Dune: harsh environments (steam, saline, mucus, cautery smoke), scarce resources (thermal and power budget), and a relentless need for clarity. Endoscopic Imaging wins with quiet analog, polite photons, and a transport link that never stutters no matter how far the video tower sits from the patient.
2) Requirements & Success Metrics (A Reality Check)
- Latency: Camera-to-monitor end-to-end < 100–150 ms feels live; sub-60 ms is chef’s kiss for Endoscopic Imaging dexterity.
- Color: Accurate skin/tissue tones under LED/laser spectra; faithful white balance (no Smurf liver, no Barbie pink mucosa).
- Dynamic Range: Specular highlight control without crushing dark folds; HDR or knee curves matter.
- Resolution & FOV: Enough pixels for landmarks; optics that don’t smear edges; distortion correction calibrated.
- Illumination: Bright, cool, and homogeneous. CRI that respects tissue; flicker-free LEDs or stable laser coupling.
- Robustness: Survive cleaning, reprocessing, and occasional bumps. Endoscopic Imaging isn’t a glass museum.
- Safety & EMC: Pleasantly boring in the lab while everything runs—motors, cautery, Wi-Fi, and all.
3) Optics for Endoscopic Imaging: Lenses, Windows & Physics Gremlins
Optics are the diva of Endoscopic Imaging. Treat them well and everything sings; ignore them and you’re fixing sins in firmware forever.
3.1 Lens Stack
- GRIN lenses and micro-objectives enable short back focal length; pick coatings that love saline and hate fog.
- Aperture & f/#: Lower f/# for brightness vs. DOF trade-offs; endoscope depth-of-field saves focus motors.
- FOV: 70–120° typical. Barrel distortion is fine if modeled; unmodeled is a jump scare.
3.2 Windows & Condensation
- Sapphire or toughened glass for abrasion; hydrophilic/oleophobic coatings for “smudge forgiveness.”
- Anti-fog microstructures or heating film; dew is the nemesis of Endoscopic Imaging.
3.3 Spectral Considerations
- Coatings matched to LED/laser spectra; optional NIR pass for ICG fluorescence (if in scope).
- Polarizers can tame glare but cost light—budget like it’s Oppenheimer with photons.
.png?x-oss-process=image/auto-orient,1/quality,q_70/format,webp)
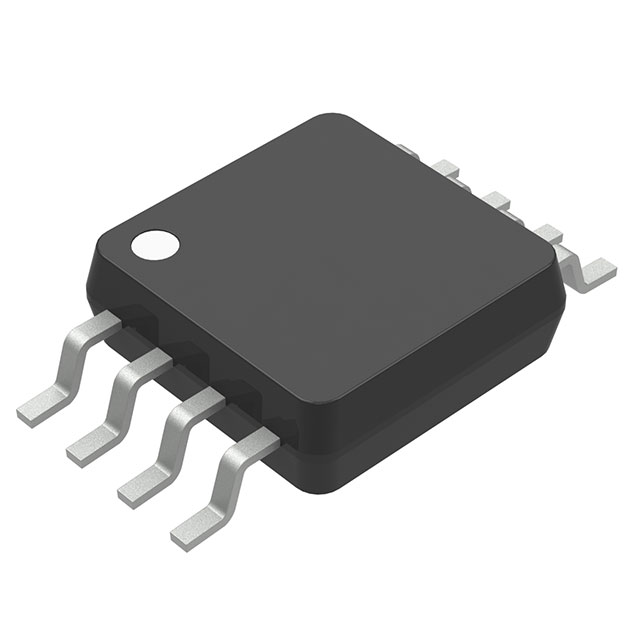
4) Image Sensors: CMOS vs CCD, Global vs Rolling, and ISP Friends
Most modern Endoscopic Imaging uses CMOS: low power, integrated features, tiny pixels that still try their best in low light.
4.1 CMOS vs. CCD
- CMOS: lower power, on-sensor ADCs, MIPI/LVDS interfaces; rolling shutter common; global is a premium.
- CCD: beautiful uniformity, but power/size tax; less common in new Endoscopic Imaging builds.
4.2 Rolling vs. Global
- Rolling is fine for steady scenes; endoscope tip motion can smear—use shorter exposures + EI and EIS.
- Global helps with fast motion and flicker; bigger die/cost/power trade-offs.
4.3 ISP & Image Pipeline
- Demosaic, lens shading correction (LSC), color correction matrices (CCMs), tone mapping, denoise (temporal/spatial).
- Hardware ISPs near the sensor lower latency; external SoCs add flexibility (and heat).
4.4 Exposure & Gain
- Auto-exposure that respects highlights; dual-gain (HDR) if available; gain schedules that avoid neon noise.
5) Illumination: LEDs, Lasers, Light Pipes & Color Rendering
Lighting is the set design of Endoscopic Imaging. No light, no story.
5.1 LED vs. Laser
- LEDs: simple, broad spectrum, good CRI; thermal management at the distal tip is the boss fight.
- Lasers: higher luminance into thin fibers; careful speckle management and safety interlocks required.
5.2 Color & CRI
- Balanced spectra for tissue; supplemental narrow-band channels (e.g., blue/green) can boost contrast.
- Constant-current drivers with PWM/analog dimming; flicker-free for all camera frame rates.
5.3 Light Delivery
- Coaxial bundles/light pipes for uniform fields; baffles to tame stray light and prevent flare.
- Temperature sensors near emitters; hard derates; software caps—nobody wants a toasted tip.
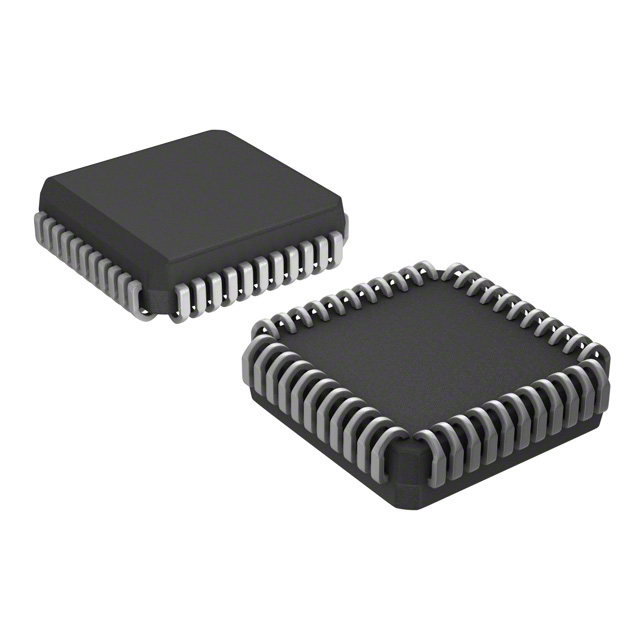
6) Signal Chain: AFEs, ISPs, MIPI/LVDS, FPD-Link/GMSL, and Coax
The electronics from tip to tower is where Endoscopic Imaging either feels cinematic or cable-TV fuzzy.
6.1 At the Tip
- Sensor + tiny board with regulator/LDOs, oscillator, and maybe a serializer (FPD-Link III/GMSL) to push raw pixels over micro-coax.
- Keep analog traces short; ground shields 360° to metalwork; conformal coat against humidity.
6.2 In the Handle
- Deserializer → ISP/SoC → display/recording pipeline; or straight to a video tower via coax.
- Power injection over the same coax (PoC) with filters so the image doesn’t taste like switching ripple.
6.3 Transports
- MIPI CSI-2 for short runs on flex; LVDS for moderate distances; FPD-Link / GMSL for long thin cables to the cart.
- Equalization and line coding tuned for sterilizable cable harnesses; test with the longest, grumpiest cable first.
.png?x-oss-process=image/auto-orient,1/quality,q_70/format,webp)
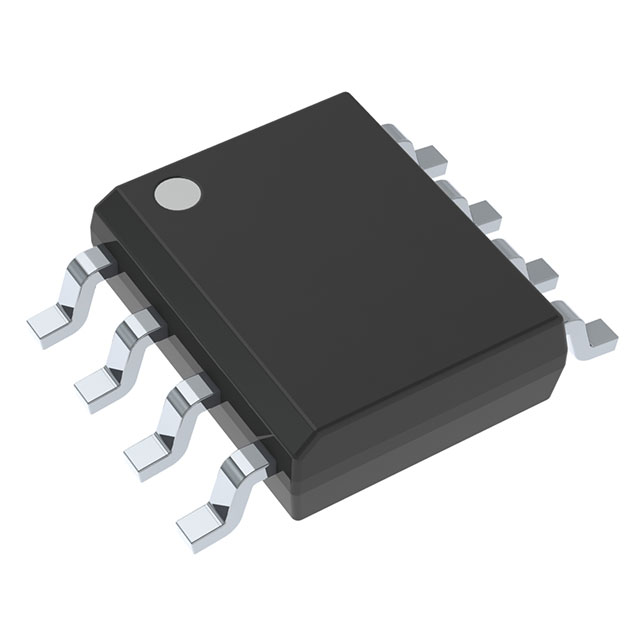
7) Power & Thermal: PMICs, Rails, Heat Paths & Sterilization Survival
Power is personality. Endoscopic Imaging has quiet rails for sensors/ISPs and louder rails for LEDs/lasers.
- PMIC with bucks for digital and LDOs for analog; RC filters on references; start-up sequencing (refs → sensor → ISP → lights).
- Thermals at the tip: copper slugs, heat spreaders into the shaft, careful glue lines; NTC near LEDs and sensor.
- Sterilization: design for autoclave or low-temp gas/plasma; pick components and solders that don’t sulk under cycles.
8) Mechanicals & Materials: Housings, Windows, Seals & Reprocessing
Endoscopic Imaging hardware lives in a wet world with detergents, steam, enzymes, and time pressure.
- Housing: Stainless, titanium, or high-temp polymers; low-creep, chemical resistant; no porous traps.
- Seals: Laser welds, brazed windows, O-rings sized for thermal expansion; IPX7+ near the distal tip.
- Flex & Coax: Micro-coax bundles with proper strain relief; bend radii that respect datasheets (really).
- Reprocessing: Survive cycles—document compatible agents and temps; no hidden adhesive failures.
9) Algorithms: Demosaic, Denoise, HDR, 3D, NIR/ICG & Autofluorescence
Algorithms are the writer’s room for Endoscopic Imaging—tasteful edits, no plot holes.
9.1 The Greatest Hits
- Demosaic & LSC: Respect edge detail; calibrate per-lens modules.
- Denoise: Temporal + spatial with motion awareness; keep textures edible.
- HDR: Dual gain or exposure fusion; protect highlights from clinical lights.
- Sharpening: Gentle halos or none at all; surgeons notice overshoot.
9.2 Advanced Modes
- 3D/stereo endoscopes: sync and rectify; depth maps with low latency.
- NIR/ICG fluorescence: second spectral channel with switchable illumination.
- Autofluorescence/hyperspectral (if in scope): hardware filters plus calibration charts that actually exist.
9.3 Stabilization & Anti-Fog Assist
- IMU-aided EIS; rolling-shutter aware; near-zero added latency.
- Auto-WB that doesn’t swing magenta when smoke appears; defog boost that’s not a meme.
.png?x-oss-process=image/auto-orient,1/quality,q_70/format,webp)
10) EMC, Safety & Regulatory: Boring in the Best Way
Standards make Endoscopic Imaging predictable on its worst day. Translate risk files into schematics, layouts, and tests.
- Electrical safety and leakage limits; isolation where patient-applied parts demand it.
- EMC: emissions and immunity while the light engine runs and cables wiggle; ESD at user points; fast recovery after defib nearby.
- Software & usability: trace requirements → tests → results; alarms and on-screen cues with human-factors evidence.
11) UI/UX & Human Factors: The Surgeon’s POV
The screen is the window for Endoscopic Imaging. Make it obvious, legible, and polite.
- Low-latency preview with locked frame pacing; no jitter when recording starts.
- One honest button for white balance; one for defog; one for capture. Big icons, glove-friendly.
- Overlays that never hide the lesion; color bars and exposure meters only when needed.
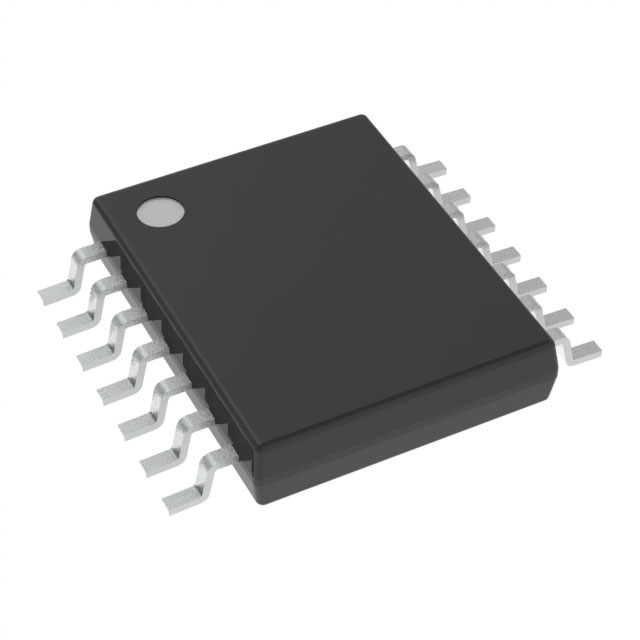
12) Manufacturing, Calibration & Traceability
Great Endoscopic Imaging leaves the line tested like a stunt double.
- Optical: MTF slant-edge charts, distortion grids, color targets, WB under LED spectra.
- Electrical: dark current, read noise, ISP LUTs per module; serializer eye diagrams over worst cable.
- Illumination: LED/laser current, thermal derate, uniformity map.
- Seals: leak test, pressure dunk, and reprocessing mini-cycles on samples.
- Serialization: lot/trace for lens+sensor pairing; calibration data stashed in FRAM or the tower.
.png?x-oss-process=image/auto-orient,1/quality,q_70/format,webp)
13) Verification & Validation: Proof Beats Vibes
- Latency: photodiode on LED test pattern → screen timestamp delta; sub-frame jitter stats.
- Image quality: SNR, DR, color ΔE, MTF, distortion, shading; test with fog/smoke scenes for Endoscopic Imaging realism.
- Illumination: uniformity, CRI/TM-30, thermal limits, flicker under all frame rates.
- Transport: BER under bending and torsion; hot-plug; ESD to the connector.
- EMC/ESD: immunity while streaming; recovery time metrics.
- Sterilization: dimensional drift, window haze, coating wear after cycles; retest optical metrics.
14) Sample BOM (By Function)
Optics & Windows
- Micro-objective/GRIN set, IR-cut, optional polarizer, sapphire window, anti-fog/hydrophilic coatings
Sensor & ISP
- Rolling/global CMOS sensor, crystal/oscillator, local LDOs; ISP/SoC or FPGA (if needed)
Illumination
- High-CRI LEDs or laser diodes, constant-current drivers, NTC, light pipe/fiber, diffuser
Signal Transport
- Serializer (FPD-Link/GMSL), deserializer, micro-coax bundle, PoC chokes/filters, ESD diodes
Power
- PMIC bucks/LDOs, EMI filters, protection (fuses/TVS), thermistors
Mechanicals
- Stainless/titanium shell, high-temp polymers, O-rings/gaskets, laser welds, strain reliefs
Controller/Tower
- Video processor, memory, HDMI/SDI out, storage, UI panel, power entry, EMC filters
15) Variants: Rigid, Flexible & Capsule Endoscopic Imaging
15.1 Rigid
- Short, bright optics; more room in the handle for processing; cable runs are kinder.
15.2 Flexible
- Long micro-coax, harsher bend cycles; tip modules must be tiny and rugged; Endoscopic Imaging EIS helps.
15.3 Capsule
- Power budget like a survival movie; radio through a human; low-light sensors and aggressive compression; one-time use simplifies reprocessing.
.png?x-oss-process=image/auto-orient,1/quality,q_70/format,webp)
16) Field Notes & Failure Modes
- Fogging: pre-warm or hydrophilic windows; defog shortcuts in UI.
- Cable intermittents: strain relief and torsion tests; BER monitors in the tower for diagnostics.
- Color drift: LED aging; periodic calibration targets and LUT updates.
- Thermal throttling: gentle cues; keep Endoscopic Imaging usable at a reduced level, not abrupt black.
At 2 AM, choose the boring, documented behavior and leave a great log entry.
17) Glossary (Rapid Fire)
- CRI — Color Rendering Index; how natural colors look under your light.
- LSC — Lens Shading Correction; fixes vignetting and color shading.
- PoC — Power over Coax; inject power on the video line.
- FPD-Link/GMSL — Serializer/deserializer tech for long, thin video cables.
- ICG — Indocyanine green; NIR fluorescence agent.
- MTF — Modulation Transfer Function; measures sharpness.
- EIS — Electronic Image Stabilization.
One-line takeaway: Great Endoscopic Imaging is a love letter to optics, a master class in low-noise electronics, and a pact with thermals and sterilization—delivering images that make surgeons feel like cinematographers with a mission.
Engineering guide—no clinical claims. Always follow applicable standards, regulations, and institutional policies for Endoscopic Imaging systems.

Related Articles
- ·ICD Electronics: Tiny Lightning, Relentless Reliability
- ·Smart Pill Dispensing Electronics: From Missed Doses to Mission Control
- ·Electrosurgery Electronics: Turning RF Into a Surgical Superpower
- ·Endoscopic Imaging Electronics: Tiny Optics, Big Picture
- ·X-ray & CT Electronics: From Kilovolts to Reconstruction
- ·MRI Core Electronics: From Quench to K-Space
- ·IVD Electronics: Tiny Signals, Big Answers
- ·Vital Signs Monitor Electronics: Tiny Signals, Big Decisions
- ·Neurostimulator Electronics: Tiny Pulses, Big Nerves
- ·Pacemaker Electronics: Tiny Joules, Big Heart
 FAQ
FAQ


.png?x-oss-process=image/format,webp/resize,h_32)


